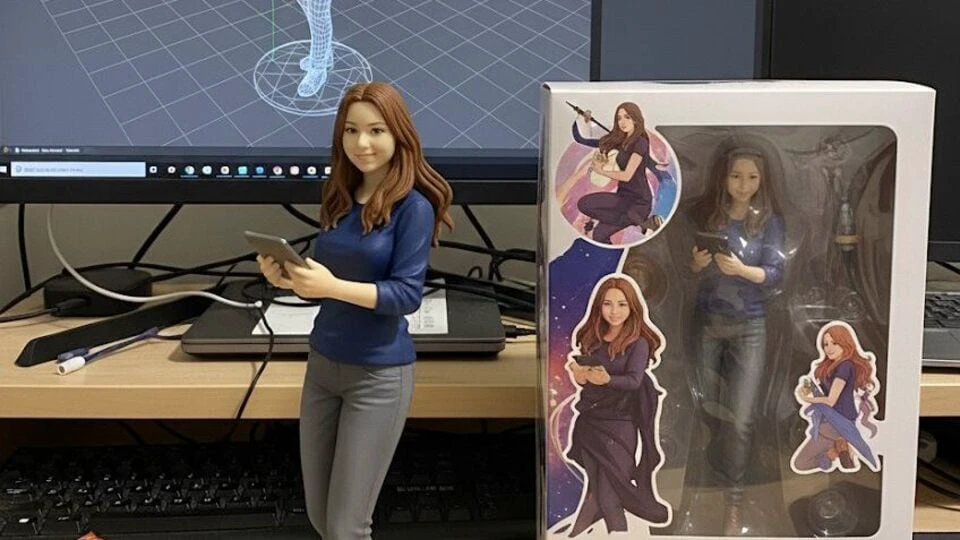
The Nano Banana AI trend has gone viral, with different types of images being generated on Google Gemini, including turning selfies into lifelike 3D figurines.
However, several users have faced difficulties with image and sizing issues.
Gemini doesn’t offer built-in aspect ratio settings for image generation or editing, but there’s a clever workaround by using blank, transparent PNGs as reference frames, you can guide Gemini to create or edit images in any custom ratio you need like 16:9, 1:1, or even cinematic 21:9.
Here’s a step-by-step guide from generating blank aspect-ratio templates to creating or editing images that perfectly match your desired dimensions.
Nano Banana: How to fix aspect ratio when creating image?
- Create a “Blank Picture Generator” tool in Gemini
Go to Gemini and begin by using a specific, detailed prompt to create an application that generates blank pictures based on any aspect ratio. This prompt is usually very long and typically found in the video description or a linked guide.
Once inside Gemini, click on “Tools” and then select “Canvas” to send the message with the prompt. Wait for Gemini to generate the tool. This tool will allow you to produce transparent PNG images that contain no content but follow a specific aspect ratio.
After the tool is created, it will let you select from predefined aspect ratios such as 1:1, 4×3, 3×2, 16×9, and 21×9, or allow you to manually enter a custom ratio. Choose your desired aspect ratio (e.g., 16×9) and then click on “Download PNG”. This will generate a blank, fully transparent image file that serves as a reference for that exact aspect ratio.
2. Use the Blank Picture to create a new image with the correct aspect ratio
Return to Gemini. Copy the prompt for the image you want to generate (for example: “a photo realistic picture of a frog riding a train in the 1950s”). Then, upload the blank transparent picture you downloaded earlier from the custom tool.
Paste your image generation prompt into Gemini. Alongside your main prompt, add an extra instruction indicating that Gemini should use the uploaded blank picture to determine the desired aspect ratio. (The specific wording of the instruction may vary, but it should clearly tell Gemini to reference the uploaded image for sizing.)
After that, click on “Tools” and select “Create Images”, then send the message. Gemini will now generate a new image using your description while preserving the exact horizontal aspect ratio (like 16×9) from the transparent picture. Occasionally, the image may have black bars or minor sizing issues, but these can usually be fixed by re-running the prompt or refining it slightly.
3. Use the Blank Picture to edit an existing image with the correct aspect ratio
Open Gemini once again. First, upload the existing image that you wish to edit (example, a vertical picture of a cat). Next, upload the same transparent blank image you previously downloaded that defines your target aspect ratio (example, 16×9).
Now provide your editing prompt (example, “make the cat wear a red hat”). Add this specific instruction: “Use the second picture as the reference for final aspect ratio and fill the area that wasn’t shown in the original picture.”
(The “second picture” refers to the transparent blank image, based on the upload order.)
Click on “Tools”, then choose “Create Images”, and send the message. Gemini will now edit your original image while ensuring that the final result conforms to the aspect ratio of the transparent reference image. Instead of simply cropping or stretching, Gemini intelligently fills in missing details to expand the image. For example, transforming a vertical image of a cat into a wider, horizontal scene while preserving and enhancing the context.
