
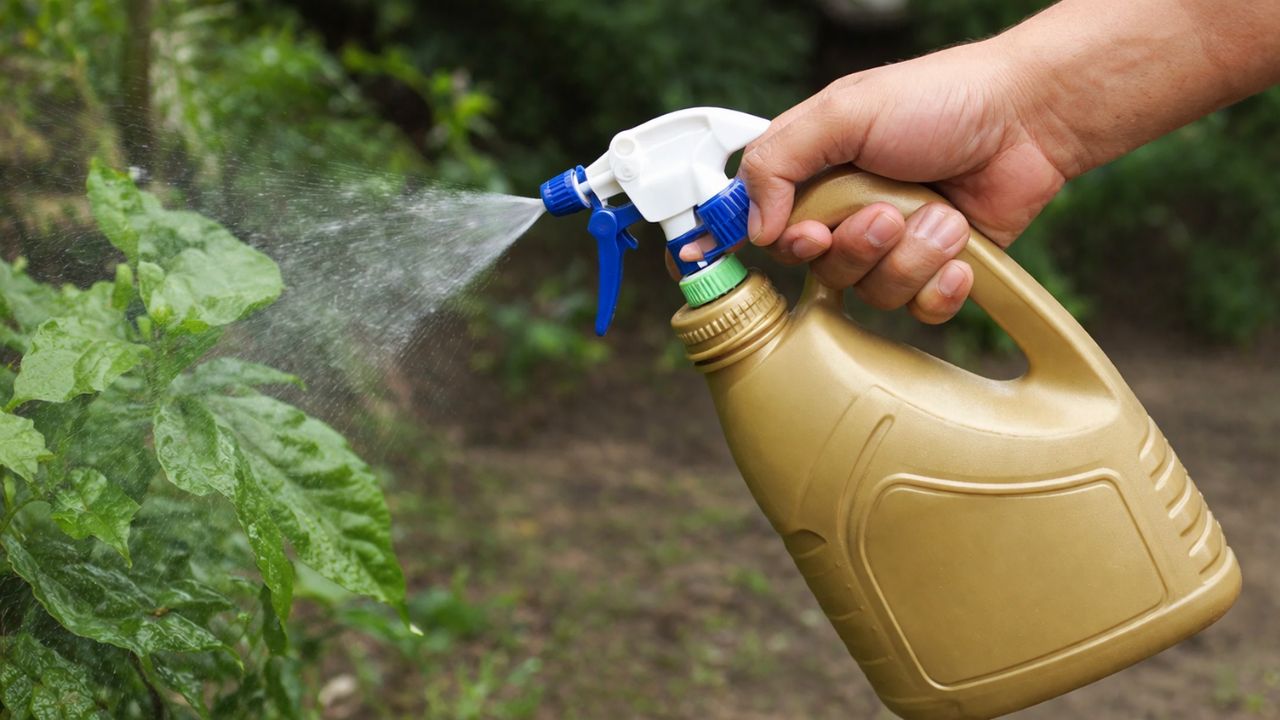
Got an empty oil can lying around? Don’t just throw it away! Here’s a simple DIY guide to turn it into a water sprayer for your plants. It’s a great, eco-friendly way to keep them hydrated this summer without spending any money. We’ll show you how, step-by-step.
During the summer heat, our plants need constant watering, especially the ones we keep indoors or in small balcony gardens. But you don’t always have to rush out and buy a fancy sprayer. If you have an empty oil can at home, you can easily make your own DIY water sprayer. It’s not just easy on your wallet, but it’s also a great way to recycle.
First, gather your materials
First, let’s get all your stuff together. You will need an empty oil can, a thin nail or a needle, a hammer, and some water. You could also add a small spray nozzle if you have one, but it works perfectly fine without it too.
Clean the can thoroughly
Before you start, it’s super important to clean the oil can properly. Wash it with some hot water and a bit of detergent to get rid of any leftover oil or greasy smell. Make sure you let it dry completely afterwards.
Make the spray hole
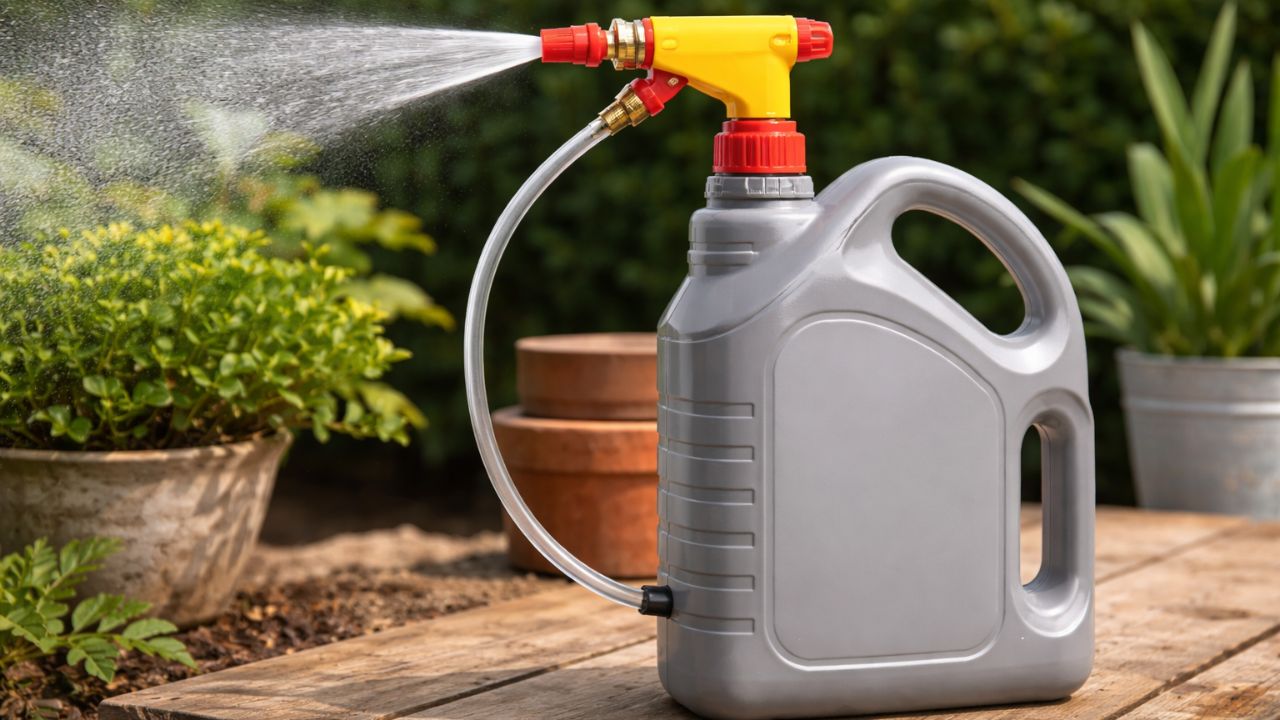
Now, it’s time to make a small hole in the can’s lid or on its top surface. You can use the nail or needle for this. Just be careful not to make the hole too big. If it’s too large, the water will just pour out in a stream instead of a fine spray. If you’re using a spray nozzle, this is where you’d fit it in for an even better spray effect.
Fill with water and test it out
Once the hole is ready, fill the can with clean water and screw the lid back on. Give it a gentle squeeze or tilt it to see if the water comes out as a spray. If the spray isn’t quite right, you can adjust the hole a little.
Tips for better use
You can use this DIY sprayer every day for your plants. It’s especially good for delicate plants that need a light mist. Just remember to keep it clean and check the hole from time to time to make sure it isn’t blocked. And if you’re feeling creative, you can even paint the can to make it look nice!