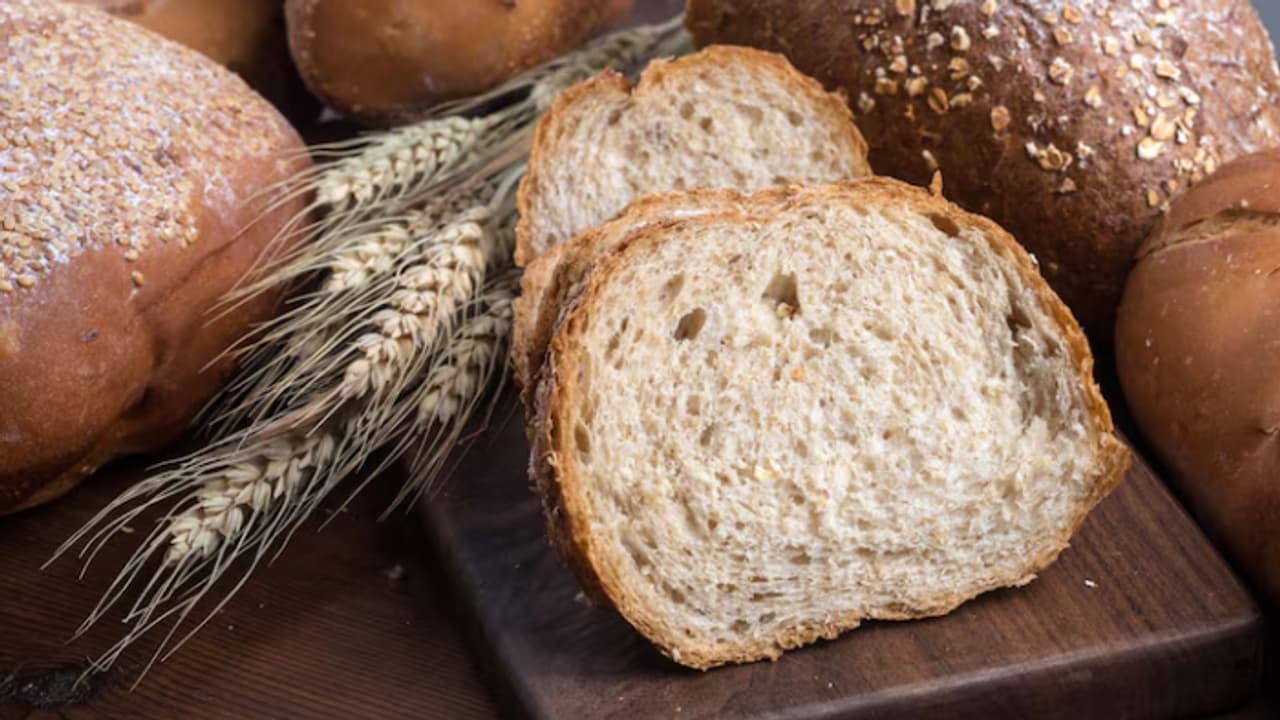
If you’ve ever wanted to bake your own bread but don’t own a bread maker, don’t worry! This step-by-step recipe makes it easy for beginners to enjoy warm, homemade loaves.
It’s almost a magical fragrance that travels through your kitchen. While using a bread maker might make it easy, delicious homemade loaves don’t need one. With just a few ingredients, great patience, and, with the hand of practice, anyone can successfully bake bread in their home. Here lies a simple guide for a beginner to get you started.
Beginner’s Guide On How to Bake Bread
Ingredients You’ll Need
For a classic loaf, you will need only a few pantry staples:
3.5 cups all-purpose flour (or bread flour)
1 packet (2.5 tsp) active dry yeast
1 ¼ cups warm water (not hot, around 110°F/43°C)
1 tablespoon sugar (for feeding the yeast)
1 teaspoon salt
2 tablespoons olive oil or butter
Step 1: Activate the Yeast
Mix the warm water, sugar, and yeast in a bowl. Let it come to a frothy head for 5–10 minutes. This test shows your yeast is indeed active. If it does not foam, it might be due to an expired yeast or hot water use.
Step 2: Mixer Doughs
In a big mixing bowl, sift the flour and salt together. Slowly add in the yeast mixture and oil. Mix it all up with a spoon until a very rough dough is formed. If your dough is too sticky, sprinkle a little more flour. If it is too dry, sprinkle a little water.
Step 3: Knead the Dough
Turn the dough onto a floured surface and knead for about 8–10 minutes. Pushing the dough away with the heel of your hand, folding it back to make it into a ball, then repeat this process continuously. Kneading is a process that develops gluten and this gluten gives bread its chewiness. The dough would eventually become smooth and elastic.
Step 4: Let It Rise
Take the kneaded dough and put it in a greased bowl, cover it with a damp cloth, and place it in a warm area to rise for 1 to 2 hours or until it has doubled in size. Patience is the key here; the longer rise allows for more flavor and texture development in the bread.
Step 5: Shaping and Second Rise
Once the dough has risen, punch it down so as to degas it. Shape the dough into a loaf or rolls, and then place it into a greased baking pan. Cover it again and let rise for another 30 to 45 minutes until puffy.
Step 6: Baking The Bread
Preheat the oven to 375 °F (190 °C). Bake your loaf for 25 to 30 minutes, until golden brown, and tap the base-you should hear a hollow sound. Leave the bread to cool on a wire rack before slicing.
Tips For Success
Don’t rush the rise: Good bread takes time.
Experiment with flours: Use whole wheat or add seeds for variety.
Check for doneness: Immediate read thermometer should read about 190°F (88°C) inside the loaf.
At first, it seems a bit daunting to bake bread without a bread maker, but soon it will become an incredibly rewarding habit for you. Besides saving money and avoiding preservatives, you can engage in the healing process of kneading, waiting, and finally relishing a warm slice of homemade bread. Soon you will start to feel like baking loaves using this beginner-friendly method that can match the local bakery.
